- Create the VM

- Access LCS with an Administrator account and click on your project

- Click on “Cloud-hosted environments”

- Click on “Add”
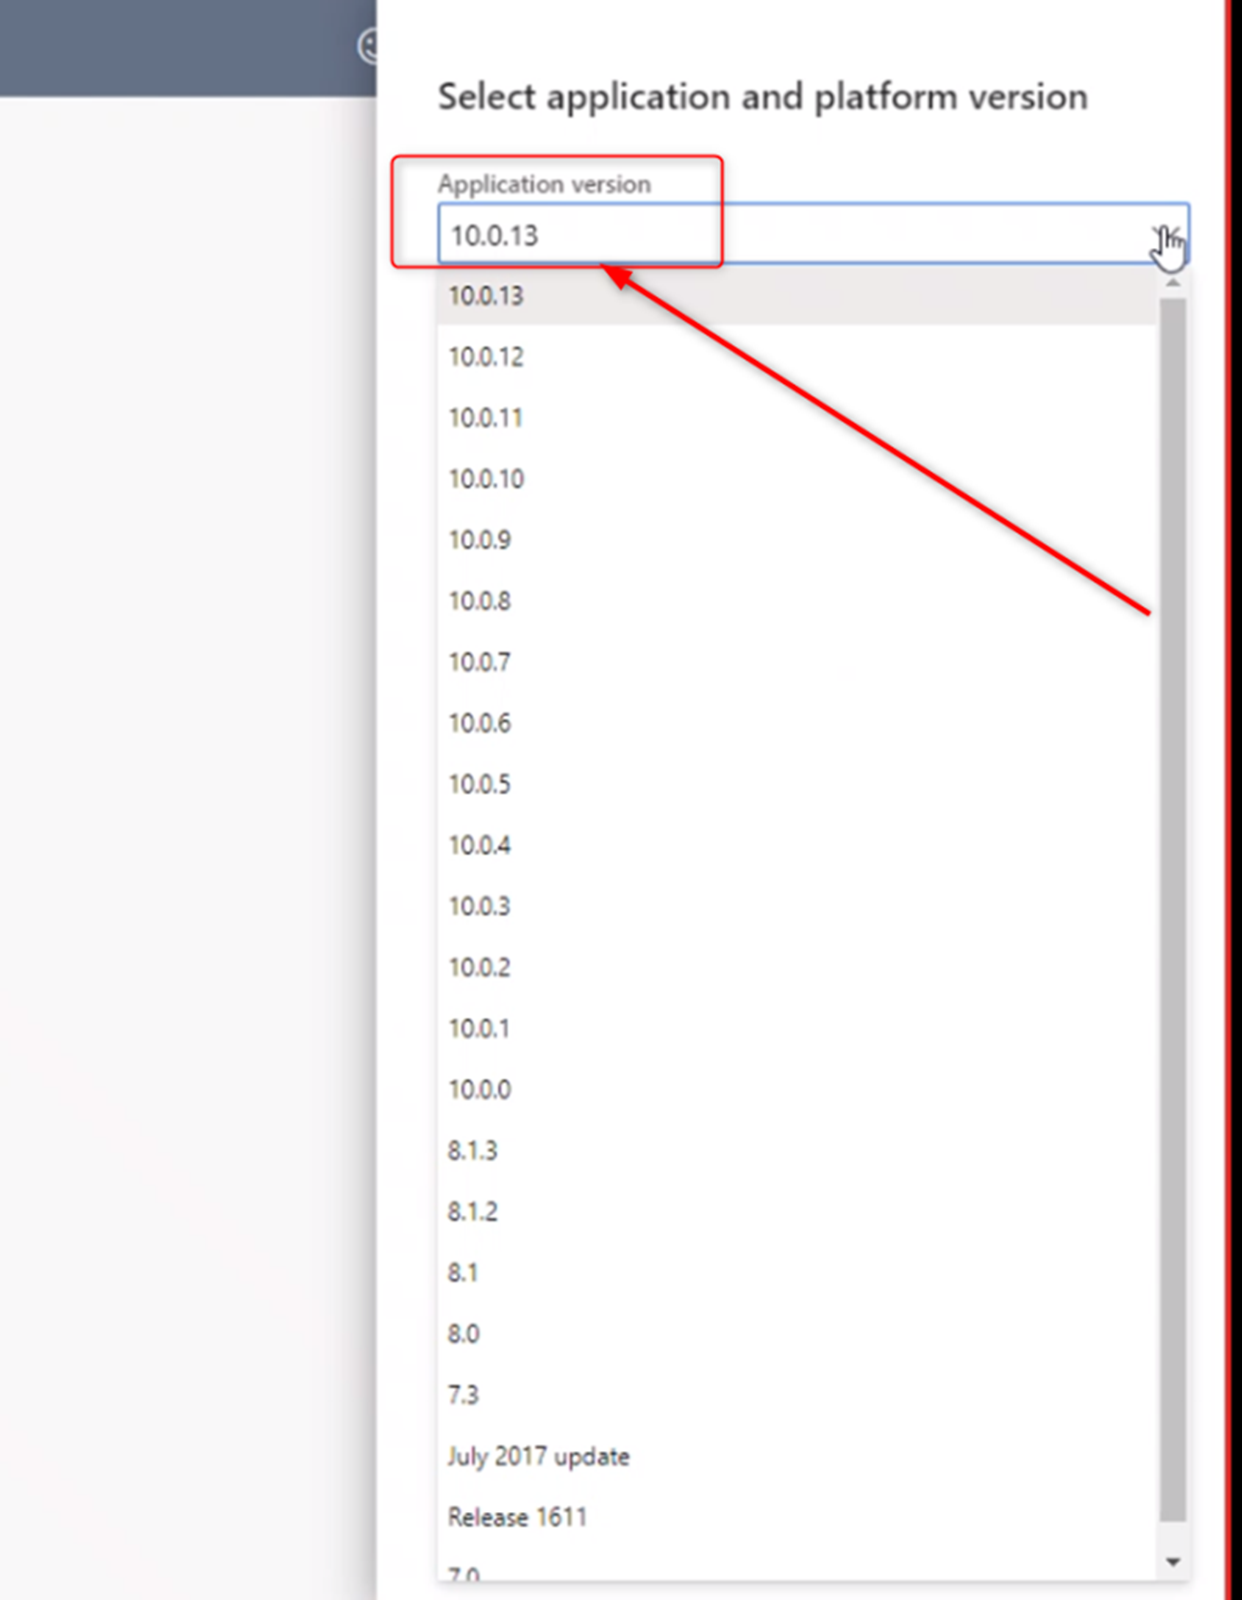
- Choose D365FO Version

- Set Environment name and click on “Advanced settings”

- Check these settings

- Check these settings

- Click Next
- Wait 6-7 hours until completion

- Once completed click on “Local Accounts” (a remote desktop session will open) and access with User and password defined on this section
- Configure Visual Studio

- Access the virtual machine, configure and open visual Studio.
- Click on View –> Team Explorer

- Click on Manage connection –> Connect to a project

- Connect to your TFS environment

- Click Cancel
- IMPORTANT!! DON’T CLICK “Map&Get”

- By clicking on Source Control explorer you’ll see the entire environment

- Click on “Workspaces”

- Click on your workspace environment and click on “Edit”

- Now you have to map your Source control folder for Metadata

- Now set Local folder “K:\AosService\PackagesLocalDirectory”

- You’ll get this.

- Now you have to map your Source control folder for Projects

- Now set Local folder for Projects (in this example C:\Users\Admin95bf664719\Documents\Visual Studio 2019)

- Click on “Get latest version” to download all datas locally

- This is the final configuration

- Click on “Close”. Confirm download of repository file by clicking “Yes”

- Wait until download is completed.


- Build all models. This operation could take several hours….
- Override existing DB
- Now If you want you can override the existing empty environment database with a backup copy of your UAT or Production Environment Database.
- To do that you can download your DB backup from LCS

- So opena again LCS and click on “Asset library”

- Click on db backup and download it
- …Wait several minutes…

- After download is completed Go to to this link https://docs.microsoft.com/en-us/sql/tools/sqlpackage-download?view=sql-server-ver15 and download “Windows .NET Core” Zip file and extract it to a folder

- Open a cmd prompt with run as admin window and paste this script
SqlPackage.exe /a:import /sf:C:\Users\Admin95bf664719\Desktop\UATbackup.bacpac /tsn:localhost
/tdn:AxDB_fromUAT /p:CommandTimeout=0
- where C:\Users\Admin95bf664719\Desktop\UATbackup.bacpac is the path of the backup file and AxDB_fromUAT is the target DB

- …..Depending on your DB size this operation could take up to 4 hours…..
- After completion you have to switch the current database with the one
- To do that rename the current AxDB in AxDB_OLD and the AxDB_fromUAT in AxDB.
- Before renaming you must disable 3 services and do some SQL script
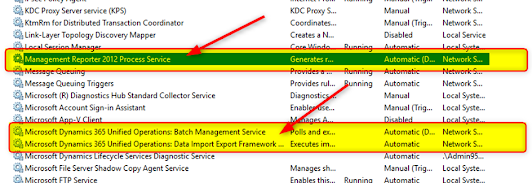
- Open Services and temporary disable these 3 services
- Now open a new SSMS session, connect to AxDB and launch this script to rename the current AxDB to AxDB_OLD
ALTER DATABASE AxDB
SET SINGLE_USER WITH ROLLBACK IMMEDIATE
ALTER DATABASE AxDB MODIFY NAME = AxDB_OLD
ALTER DATABASE AxDB_OLD
SET MULTI_USER WITH ROLLBACK IMMEDIATE

- Then manually rename the new AxDB_fromUAT to AxDB
- Remember to restart the 3 previosly disabled services
- Now you can connect to your D365FO cloud hosted environment
